Here's a quick, easy way to print out posters from your computer. Posterazor is the perfect software solution for poster printing. If you've used
The Rasterbator online, this is pretty similar but you don't have to be online to use it. Now you can print out great looking posters from home, the office or anywhere you don't have an internet connection.
So I use this personally for promo posters for my business. I have printed out a couple decorative poster art type projects, but my main use is for window posters to promote sale items. This program lets you print out an image over multiple pages of paper so you can tape or collage them together to make one large poster. Here's an example of a Valentine's Day poster I made for a friend.
 |
| Valentine's Day sale poster made with some clipart, and 4 pages of paper. |
I use Fedora so I did a yum search and I found it available in the repositories.
yum install posterazor and yum did the rest. Using the program is pretty simple as well. Basically for my project I created a 6900 x 3600 pixel file in Gimp 2.8. Chose my font, added some clipart and exported the file as a jpg image.
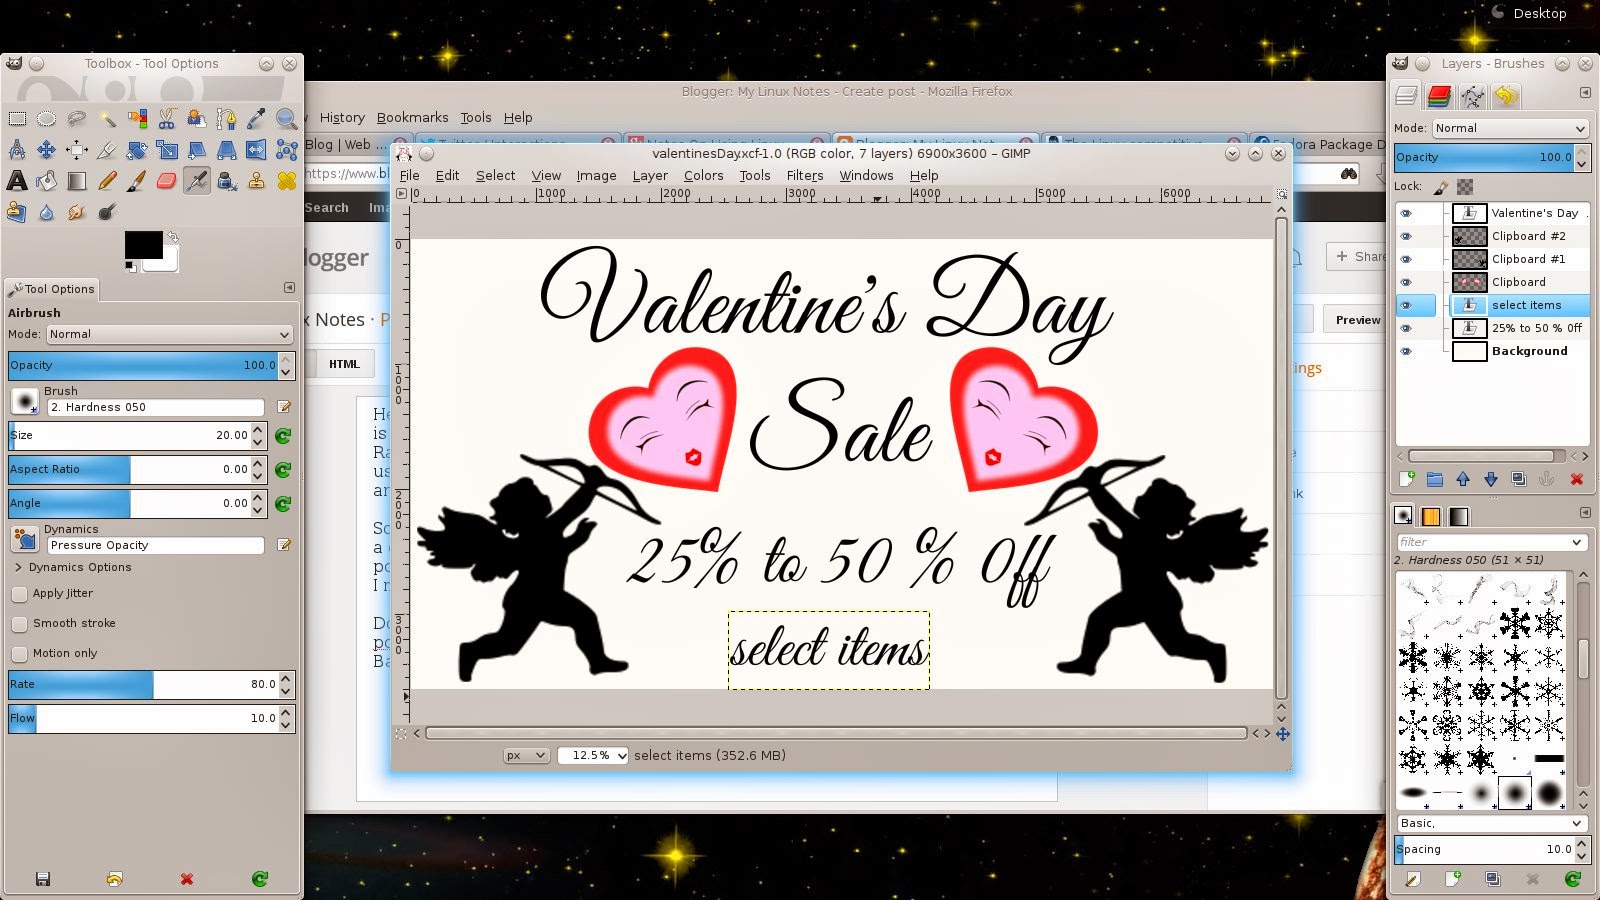 |
| Designed in Gimp 2.8 at 6900 x 3600 pixels and exported as jpg. |
Next you open Posterazor.Click on the folder icon over on the right hand side where it says input image. Find the directory where you saved the file you created and open it in The Posterazor, when the file opens click the next button over on the bottom right hand corner. You can click the images in this blog post to enlarge them for a better view.
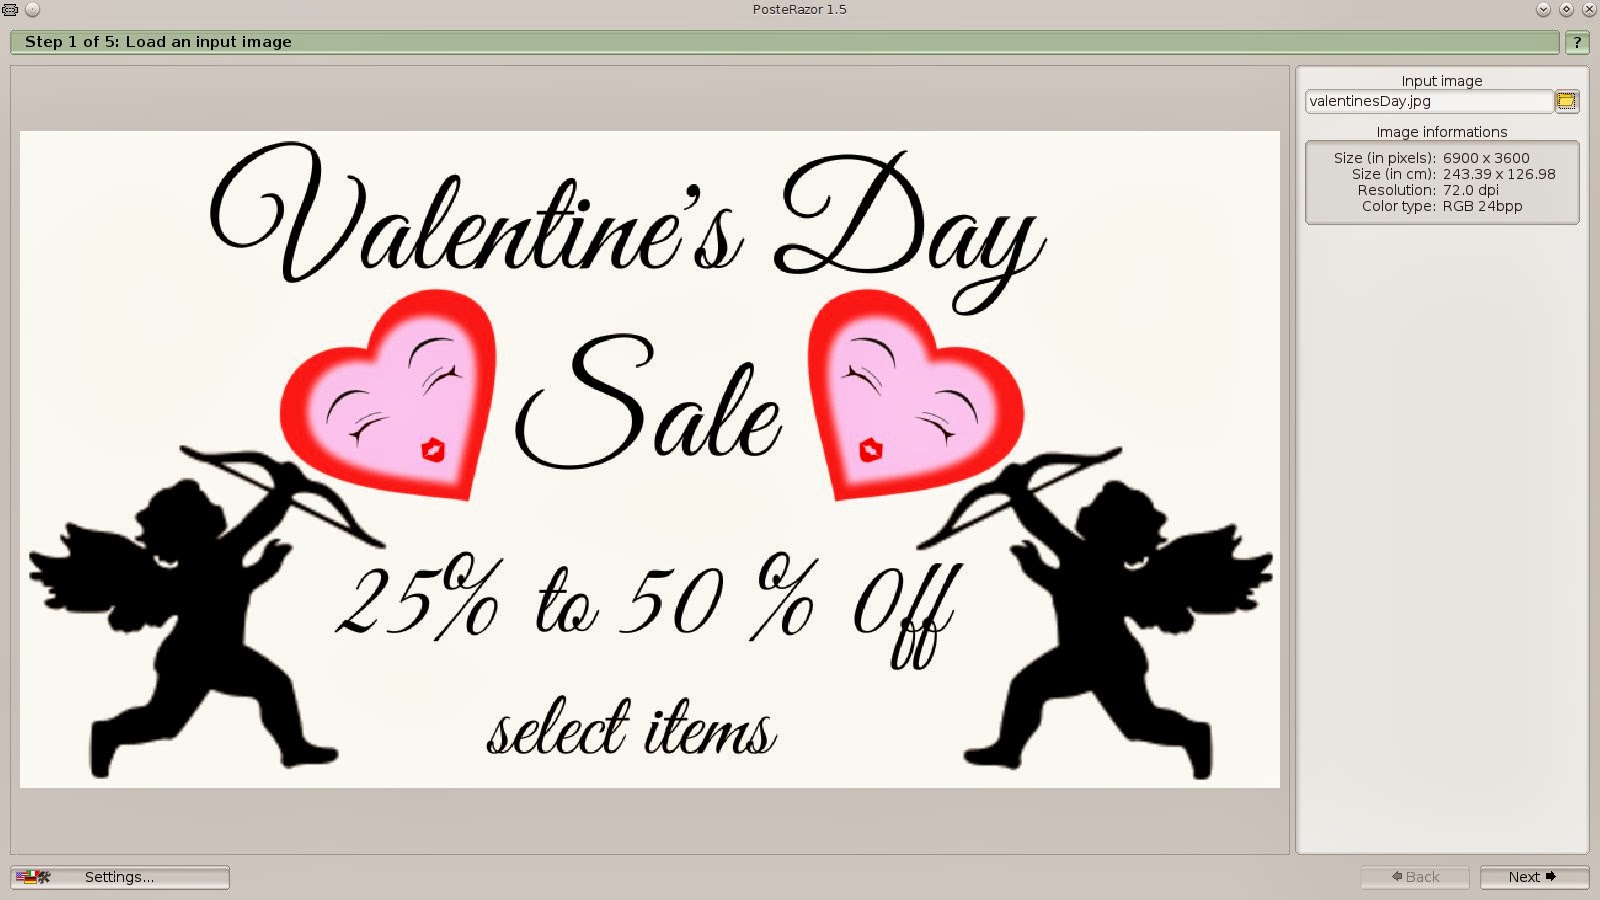 |
| Step 1 of The Posterazor. Select the image you want to turn into a poster. |
During step 2 I kept everything on the default settings. This more or less controls your borders. You can play around with this a bit on your own. I just left it at default and cut the borders on one page so they overlapped a bit and had some room to tape. I found this easier for me. Again click next.
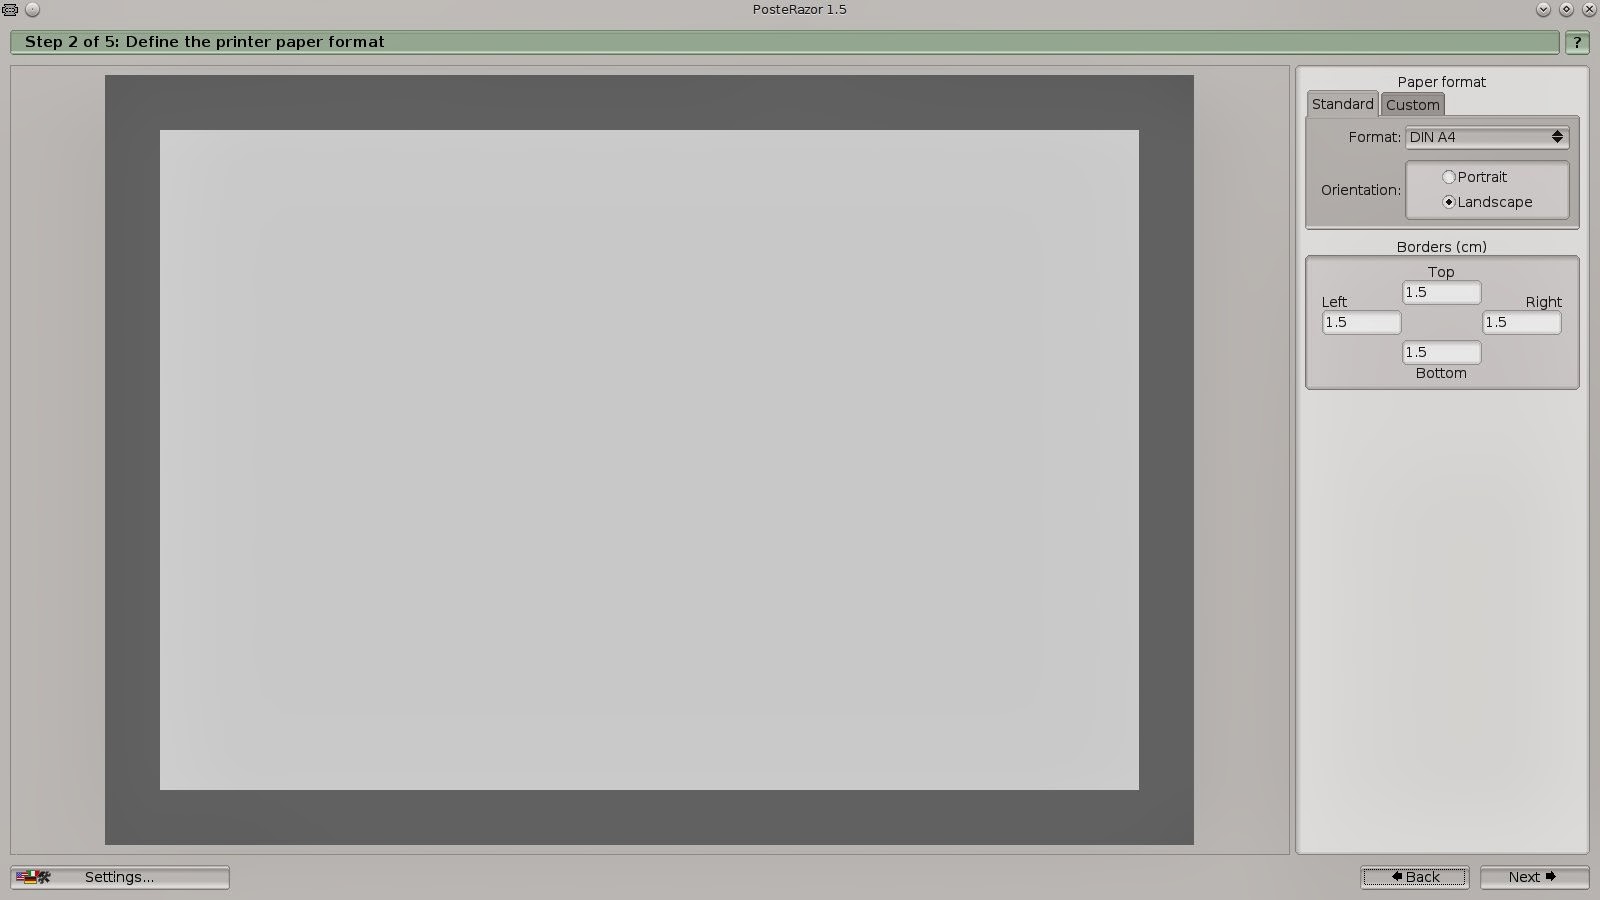 |
| In step 2 I left everything set at the defaults. |
Step 3 lets you adjust the overlapping of the pages. Again I left this on the default setting and clicked next.
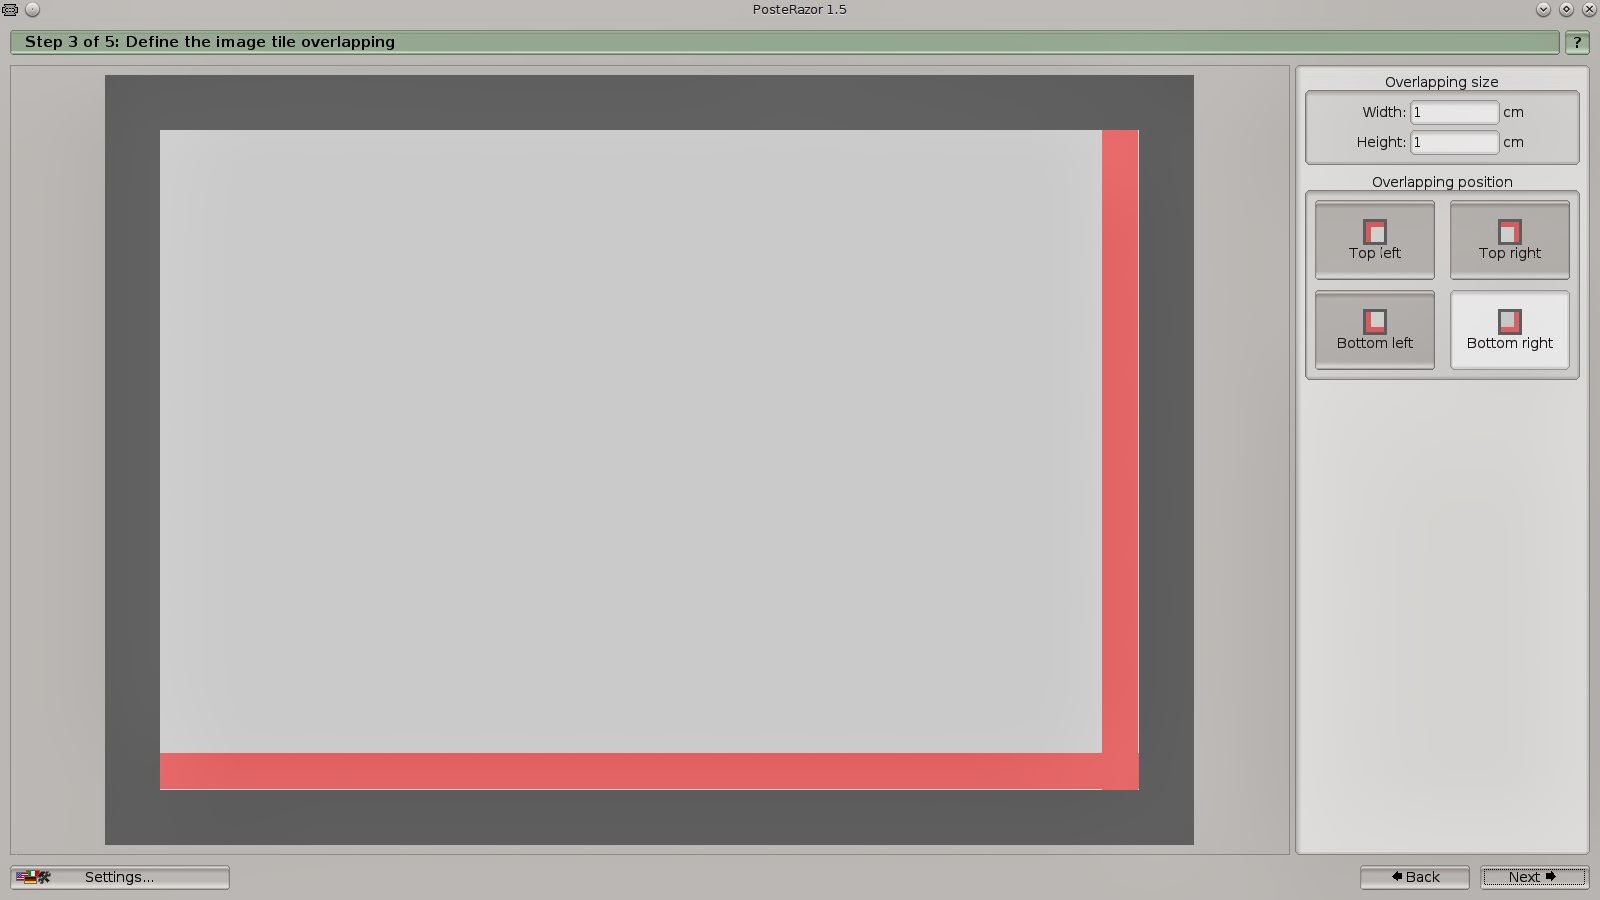 |
| Step 3 controls the overlapping, again I left this set at the defaults. |
Step 4 shows you how the pages will print, and how many pages you will be using. You can adjust this to make your poster larger or smaller. I wanted mine to be about 4 pages, landscaped, to place in the storefront windor. So I created it at 2 pages width, and 1.5 page height. Click next.
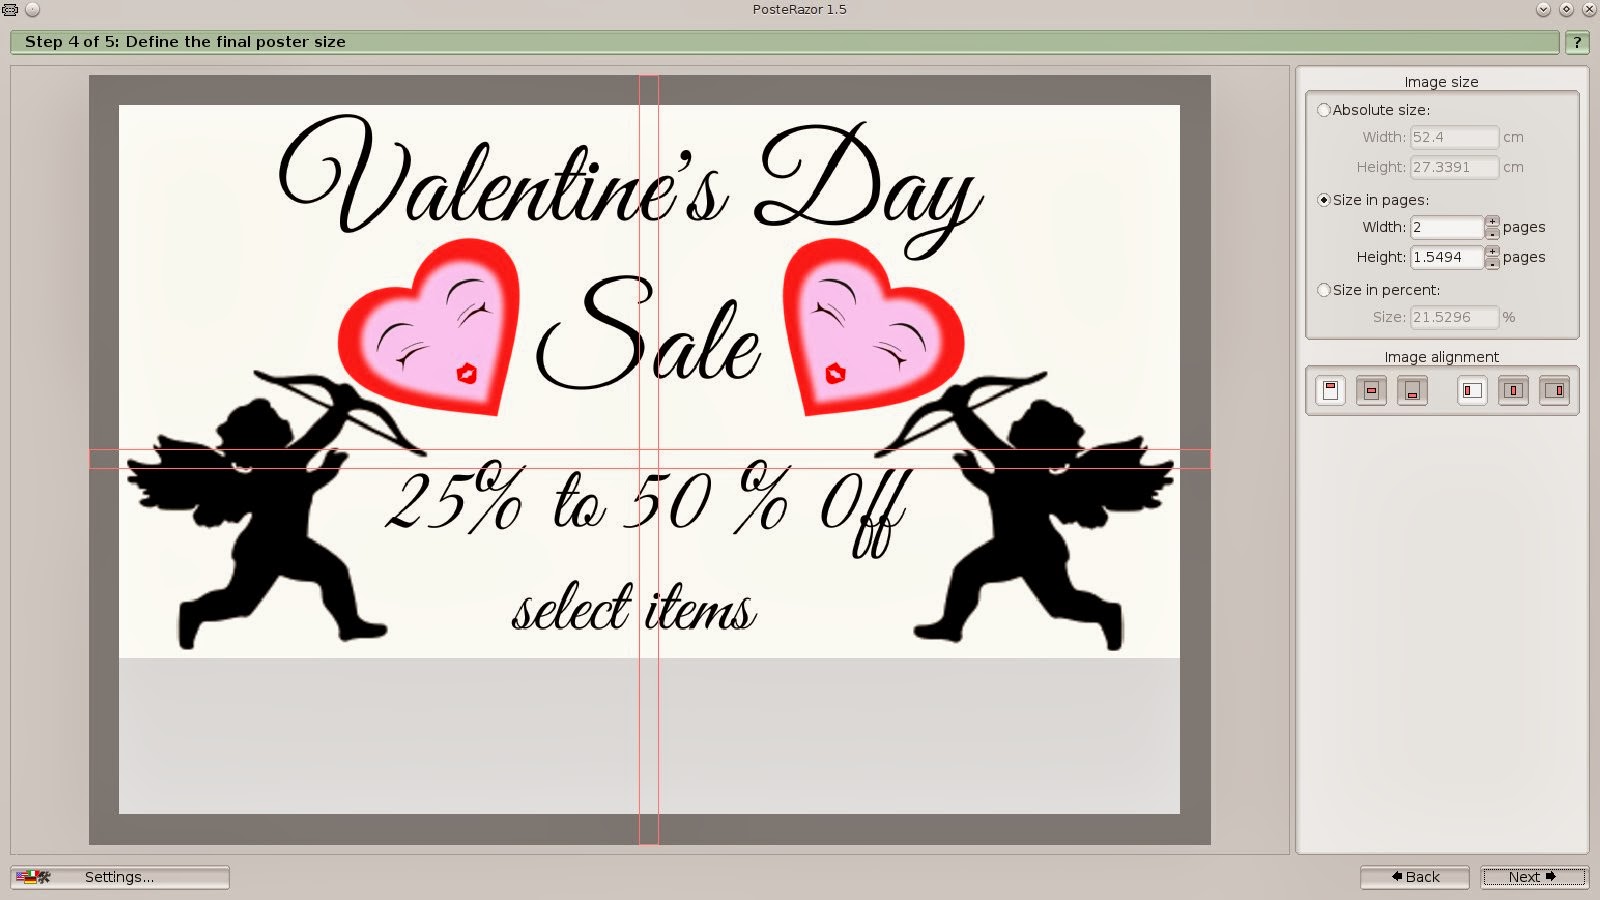 |
| Step 4 shows you how many pages you'll be printing. This can be adjusted to add more or less pages depending on the size of the poster desired. |
|
Step 5 click on the floppy disk icon under where it says save the poster. Choose the directory you want to save it in, name the file and give it a pdf extension. Press the OK button and your pretty much done.
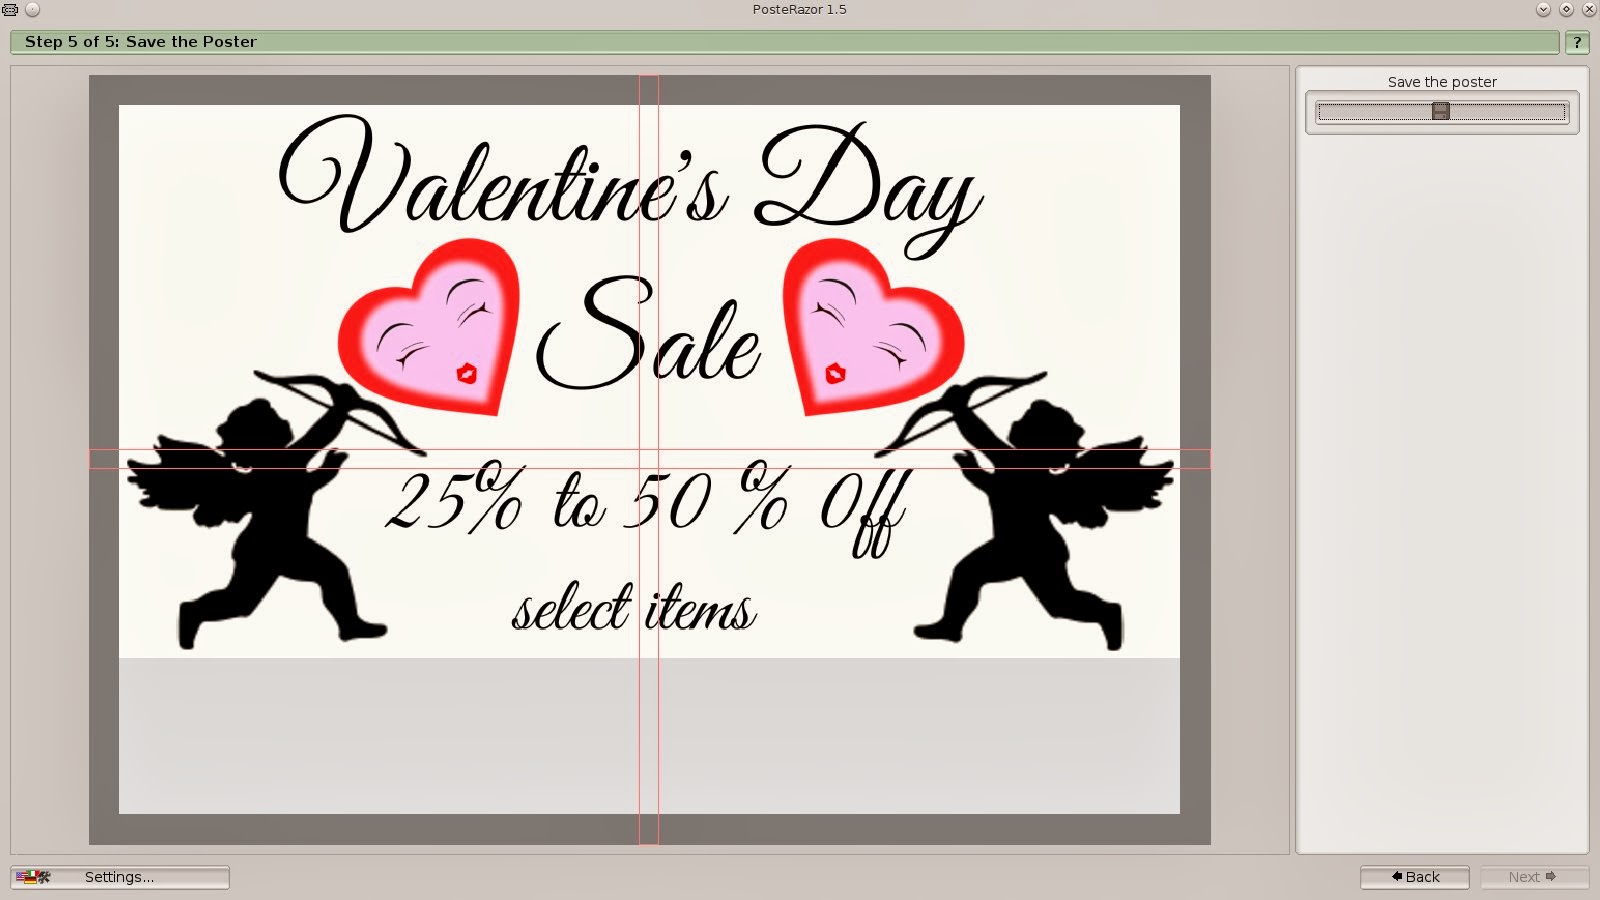 |
| Click on the floppy disk icon, name the file and give it a pdf extension. |
All you have to do now is open up the pdf file, click print, and your printer will do the rest. Trim the edges, I trim the edges on one side and tape it on the back. I think it looks neater and hides the tape for the most part.
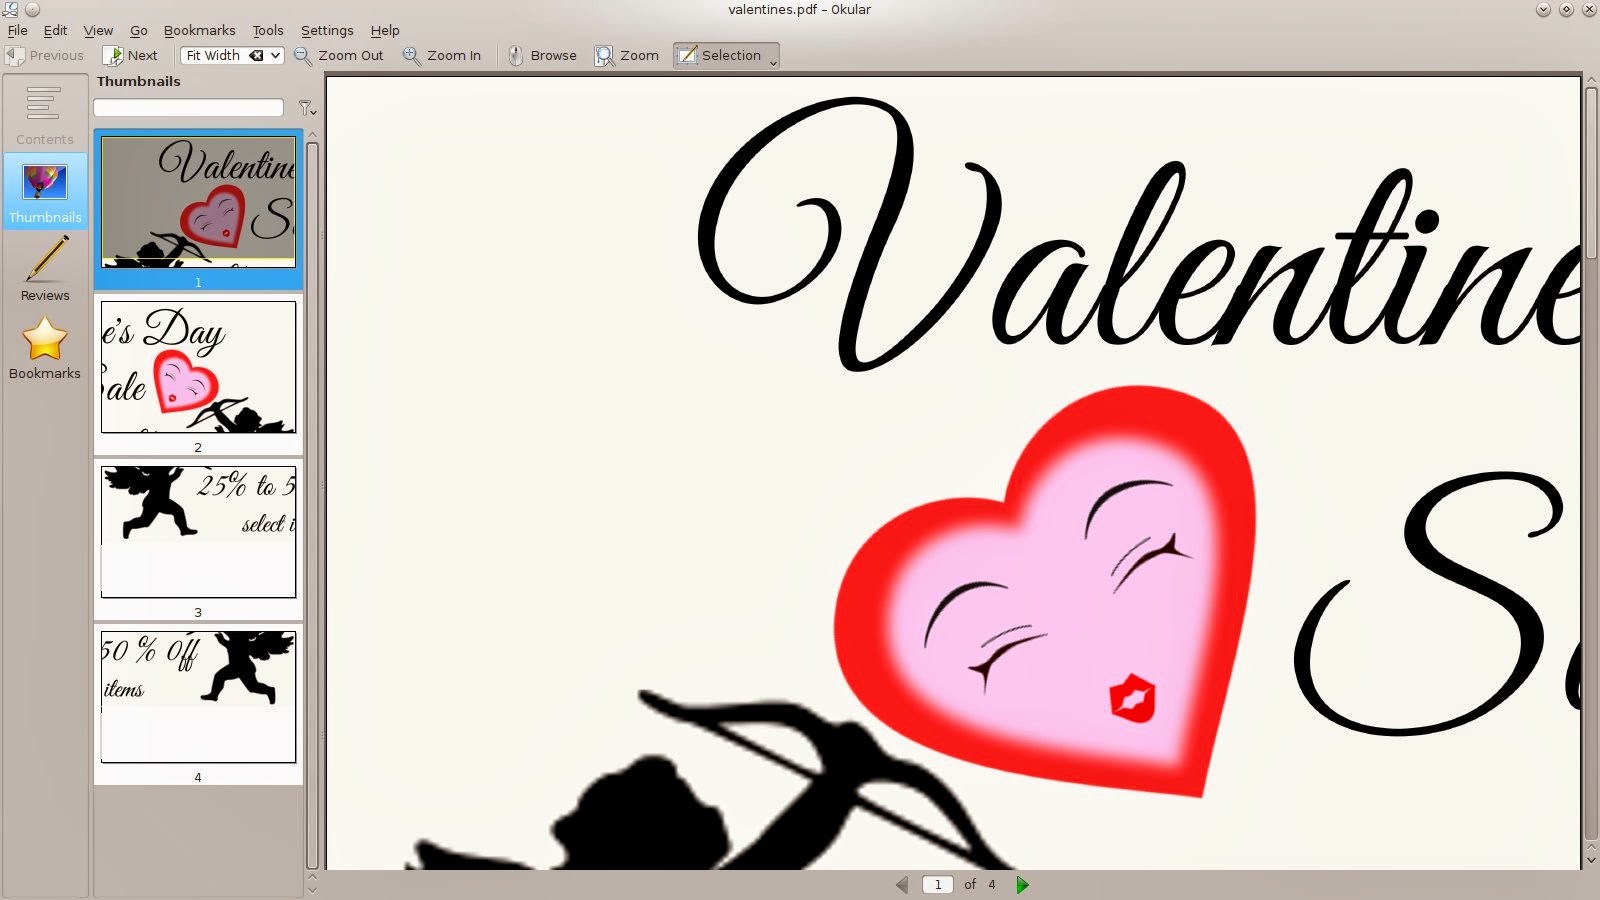 |
| Open the pdf file in your favorite pdf viewer. I used Okular. The image will be broken up in page sections. Click print, and tape your pages together, you have acheived poster ! |
Whatever you decide to use the Posterazor for, this is a great piece of software, that's fun and easy to use. Makes great posters in 6 easy steps ! This is perfect for creating promo posters for the store window at work ! If you've used this program leave a comment and tell me what you've used it for.

I tried to use this program for a pattern sheet, 644 x 404 mm, jpeg, line drawing only. It reduces the size of the pattern and that is useles for me. Pity, would have been great if it worked. Patterns are to be precise, not willy-nilly. So, will throw the program out from my computer.
ReplyDeleteThis is a great overview of the PDF spec release—super interesting for anyone keeping up with PDF standards! And if you ever want a quick way to Split PDF for testing or tweaking content, check out this handy tool: ThePDFLeader – Split PDF online free. Simple, free, and no hoops to jump through. 🙂
ReplyDelete